
But, true to form, I wanted more. For a long time too, I have wanted a double-sided compost bin made from recycled pallets. Having a double-sided bin gives you a place to put the stuff that is further along in the decomposition process. Recycling pallets is good to do because, says this source, 40 percent of hardwood harvested goes to making shipping pallets, two-thirds of pallets are only used once and then thrown away, and one quarter of all wood in landfills is from used pallets. I simply like the aesthetic of a compost bin made from pallets, not that I've ever seen bins made from anything fancier. Yes, pallets are generally the standard when it comes to compost bin building material.
The first thing to do is get five pallets (you could go for seven if you want to make "gates" for the front of each one). A lot of places sell their used pallets, but if you're lucky like me, you have a friend in business who will say "Sure, go ahead and take some," like John Paul Davies of Key City Fish Company told me I could do. If you're not buddies with John Paul, Key City sells them for the low, low price of $1.50 each. I read that some pallet wood is treated with chemicals, and since you don't want that for obvious reasons, make sure that you get the untreated variety like the ones at Key City Fish.
The last time Tim was here, we picked up the pallets in his truck, and I told him I wanted to be the one to build the compost bin. When he returned this weekend and asked me what I wanted him to do, I said I wanted him to build the compost bin.
Women are funny that way. We change our mind sometimes. This was not lost on Tim who remembers absolutely everything.
"I thought you wanted to build the compost bin," he said.
I hadn't had the time I told him. Which was true. Earlier in this blog, I mentioned that I was planning to go to school if I didn't get a certain job. Well, I didn't get the job, and now I'm a full-time student. Instead of enrolling in the culinary arts program at a Seattle college though, I decided to study web design and food service management at the local community college, all of which is part of my master plan for the future of Olympic Fork.
But first, I needed a bigger compost bin because no self-respecting mini-farm should be without one.
 The bin I envisioned was a sturdy sort using three concrete pier blocks with brackets I have lying around just begging to be put into service. I figured if we put 4x4s upright in these blocks, we could nail the pallets to them, and everything would be nice, straight, and level. I'm a Virgo, and I like things nice, straight, and level. If things are not nice, straight, and level, despite outside evidence to the contrary, I am screaming inside.
But Tim had a different idea. And that, my friends, is the crux of being a couple. No matter how well you may be matched, two people will very often have two separate ideas about how to get from Point A to Point B.
Fortunately, Tim is a patient man. So, whenever I mentioned that we'd probably have to go buy more of those pier blocks and get some 4x4s, he said we should just wait and see until we were ready to put the pallets together. Since he does, after all, have an engineering degree from the same university I graduated from so I have to respect it, I thought perhaps I could probably hang on that long.
When the moment to put the pallets together finally did arrive, Tim started talking about things like nail straps, and, since I do have half a clue as to what a nail strap is and could envision it working to make the bin nice, straight, and level, I began to come around to his way of thinking. We jumped into the truck, and and off to the hardware store we went.
 Tim navigated his way around the store, and I followed. In the end he picked out what are called "framing angles" and "tie plates," and we bought four of each. In addition to that, we bought some landscape fabric to keep the weeds down on the bin floor, some quarter-inch hardware cloth to line the bin, and some staples to attach the hardware cloth. Total cost: $50.03. If you did it without the landscape and hardware cloth, you could get away with the whole project for less than $10 if you get the pallets for free like I did.
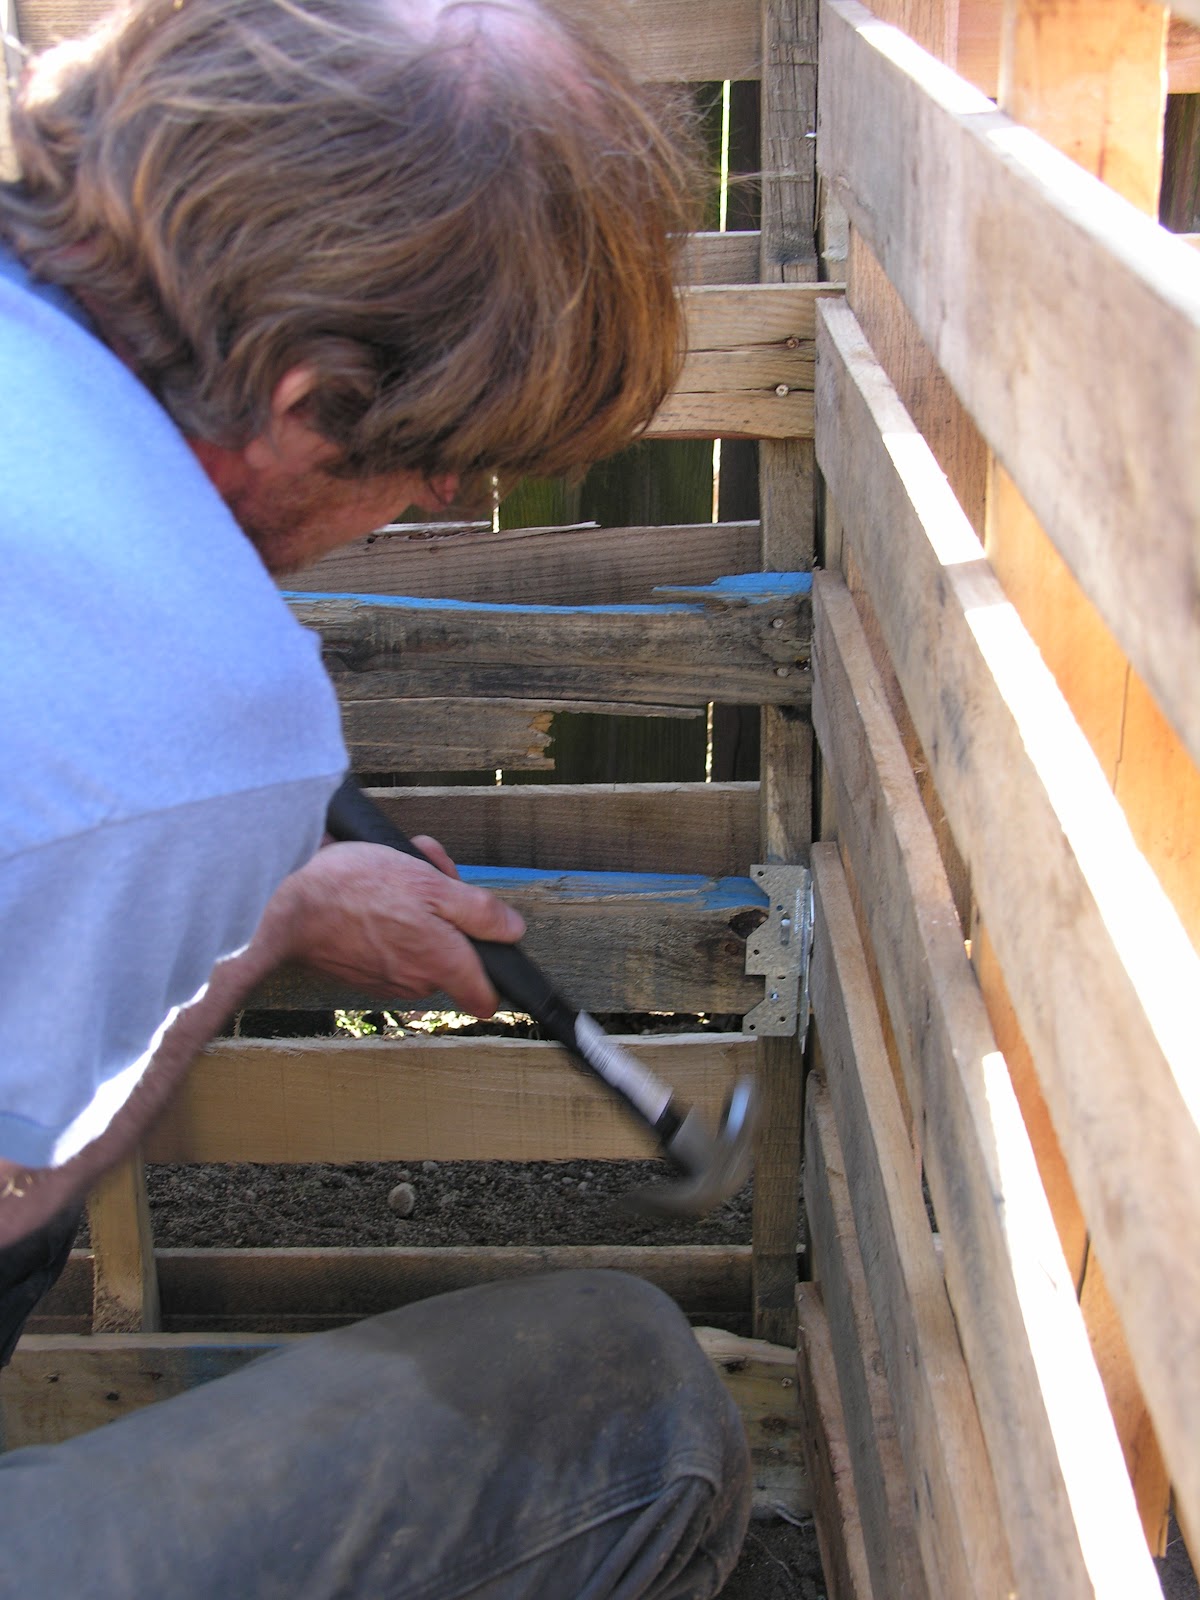
 Back home, while I held the pallets in place, Tim hammered the nails. When all was attached, we stood back and checked it out.
"Hmm," I said calmly, silently screaming inside, "I don't think it's level."
"It's level with the fence line," he said.
"Yes, but the fence is going uphill," I pointed out.
No problem. Tim lifted one end, I shoved some concrete patio chunks underneath those two corners, and there it was: nice, straight, and level.
 Just like I had envisioned.
If, for some reason, you have an entirely different idea of what you think a compost bin should look like, here are some other examples from Seattle Tilth. For some interesting historical reading about the second American president, John Adams, who was a farmer, gardener, and compost enthusiast, click here.
As for the worm bins, I gave them, and some of my worms, away to a friend who is starting her own compost production system.
No comments:
Post a Comment